It's porch sitting season and we’re loving the evenings of sitting outside as the sun sinks low. As fans of this season, we've been eyeing some porch #Pinspiration and are ready to take on a few DIY projects of our own. Today, we’ll be sharing a tutorial for a DIY, no-sew outdoor pillow cover using a shower curtain. Not only is the project easy to complete, but it’s also inexpensive and an excellent way to recycle an older shower curtain for the cause of porch sitting enjoyment!
WHAT YOU’LL NEED:
- A collection of outdoor pillow, outdoor cushions, or an outdoor pouf form (Need one? Shop HERE)
- Waterproof shower curtain
- Industrial strength sticky velcro strips
- Scissors
- Ruler or Tape Measurer
- Pencil
WHAT TO DO: - 1) PREP THE SHOWER CURTAIN FABRIC:
Spread the shower curtain flat and fold in half. Once folded, cut seam down the middle. Now you should have two, equally sized pieces of fabric.

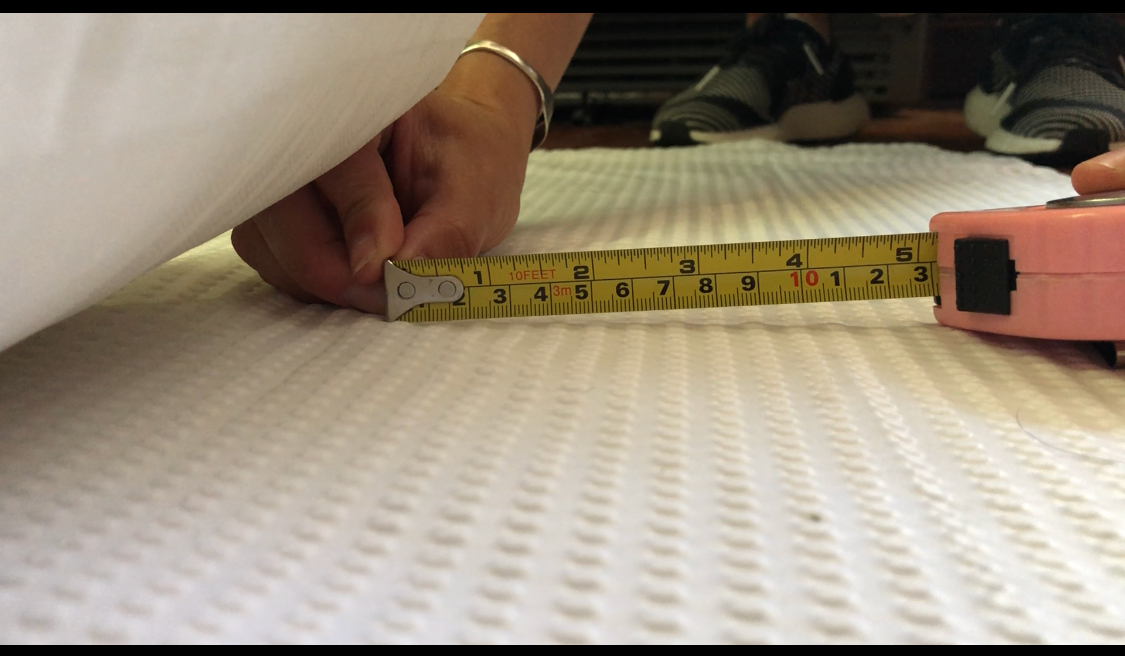
2) PREP THE OUTLIN OF YOUR PILLOW COVER
Keep the two pieces of fabric on top of one another and place the pillow in the center. For each of the four edges of the pillow, measure 5-6 inches out and mark your fabric (you want to make sure theres enough room on the edges of your pillow to fold your fabric under on each side). Then, using a straight edge from a ruler or tape measurer, trace a square around your pillow.
3) CUT ALONG TRACED SIDES
Cut the traced fabric. You should end up with two equally sized squares a little larger than the pillow itself.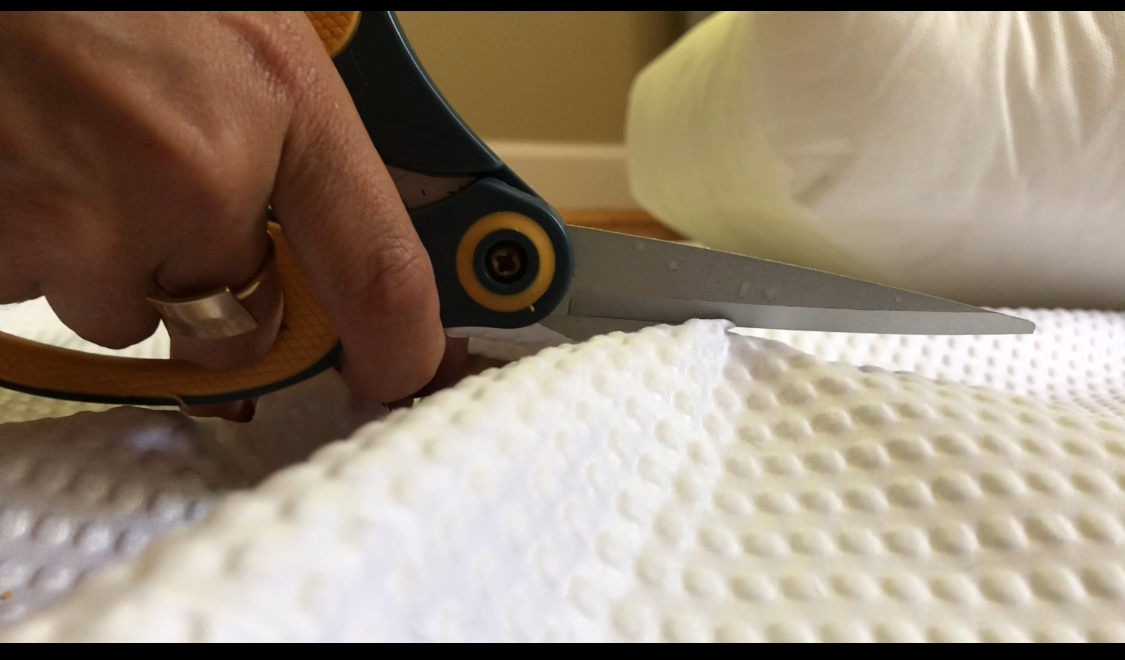
4) PREP THE VELCRO
Measure hook and loop sticky velcro strips to extend down the length of each side of your pillow. You should end up with 8 pieces total (4 hook sides and 4 loop sides).

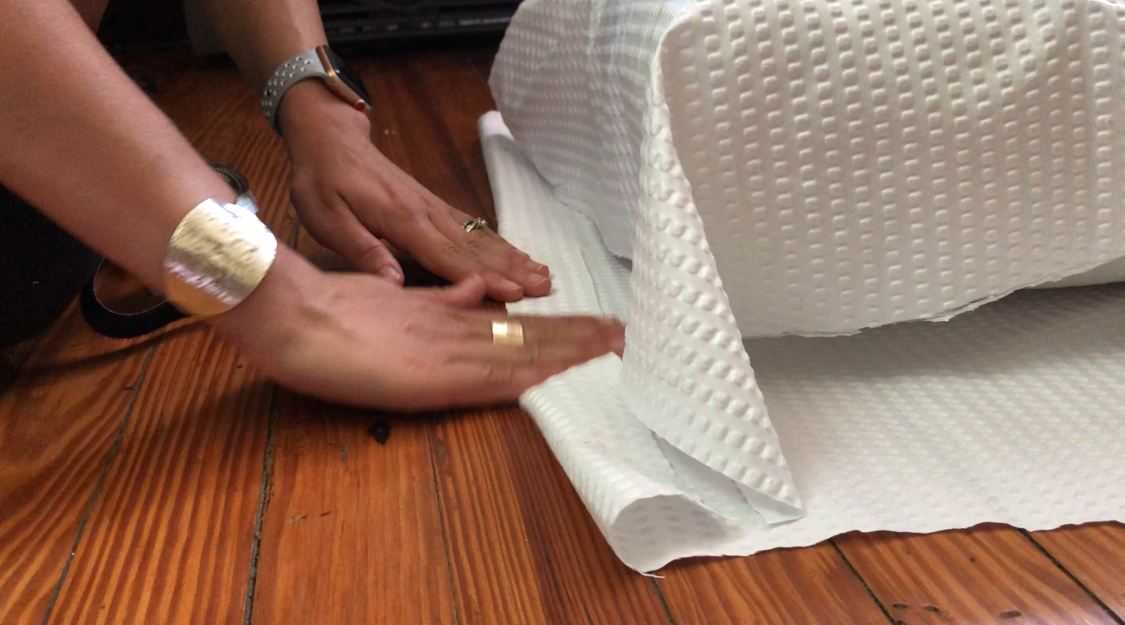
5) FOLD AND SECURE ALL EDGES
Sandwich your pillow square in the middle of the two pieces of fabric. Folding each side about 1/4 an inch to create a "sew-free seam" (this will keep the edges from fraying), then use the sticky side of your velcro to tape the edge down, securing it. Make sure you use the loop sided velcro on all the top sides and the hook sided velcro on all the bottom sides (this just prevents any confusion!). We suggest doing one full side at a time: attaching the loop sided to the top of one side and the hook side to the bottom.


6) SECURE THE SIDES
Once you've created seams along each side, pinch tops and bottoms of each side together and secure with velcro.

")